I know, it’s not an actual “Telecaster”, it’s a “Telecaster Type”, but I’m going to call it a Telecaster because it’s just easier.
I received my Harley Benton Telecaster, model HB-TE-DIY-KIT, today (7/3/2025). It was all a pretty good deal, until I got hit with the Trump tariff. That’s right, friends, the Germans didn’t pay the tariff; I did! Thank you, Donald Trump!
But I digress.
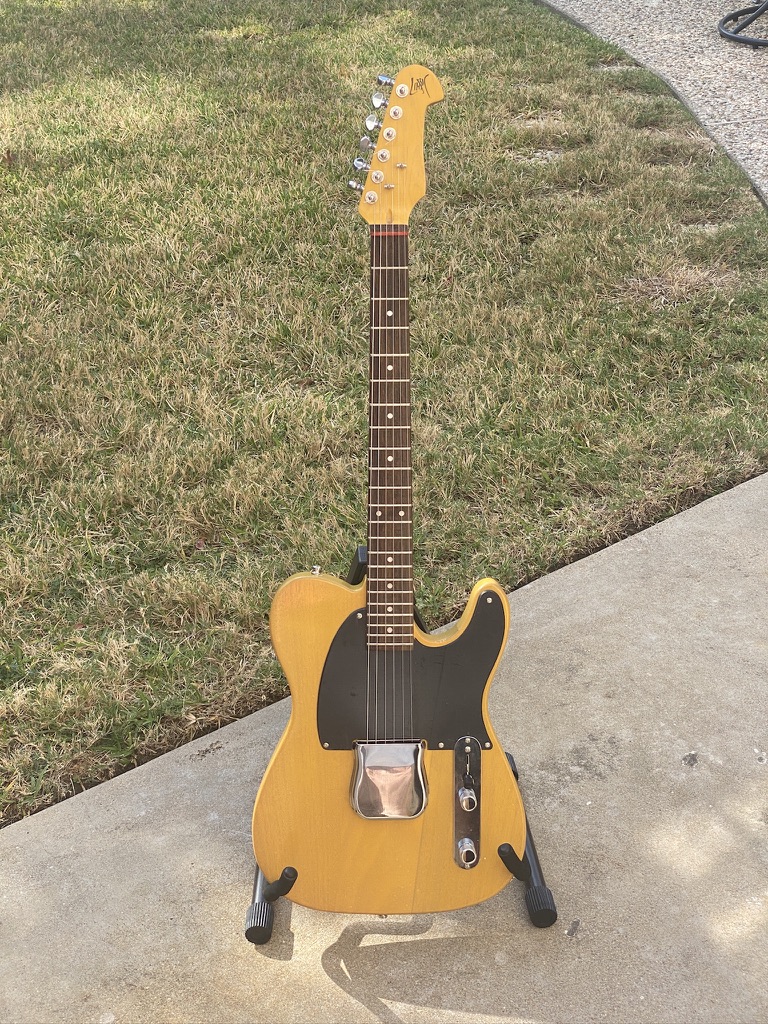
I want this build to be as classic as I can, so using the faded butterscotch blonde color

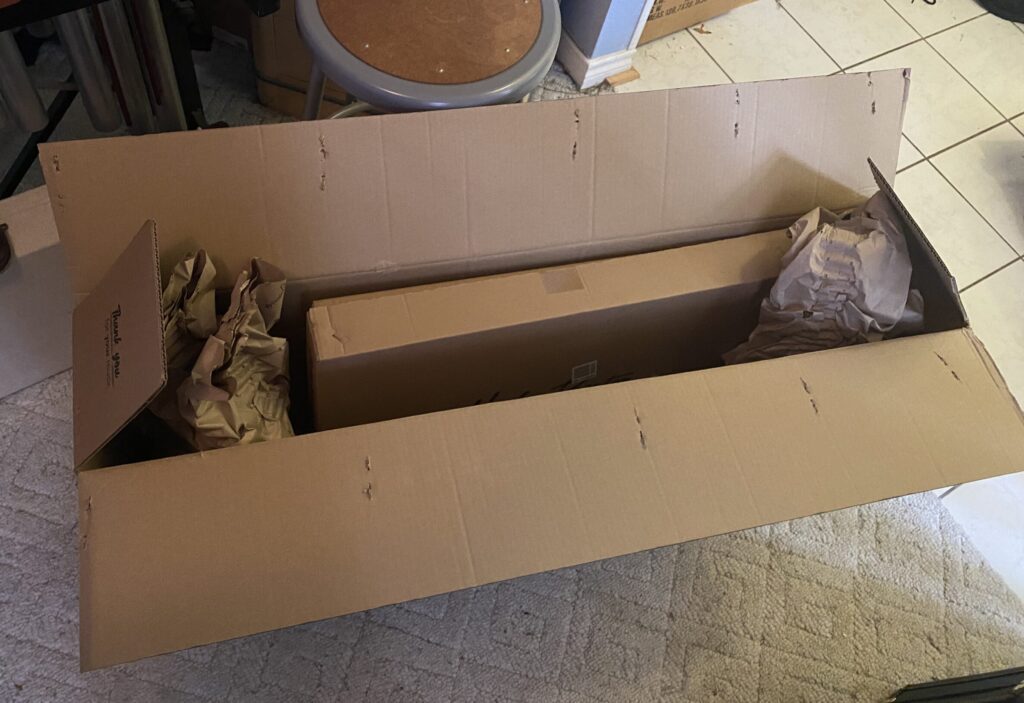
The kit arrived very quickly considering it came from Germany and had a customs hold while I paid that tariff.
It was packed well, double boxed, and nothing looked like it had any shipping damage.
Inside, the kit is divided into 3 parts: The body, the neck and everything else
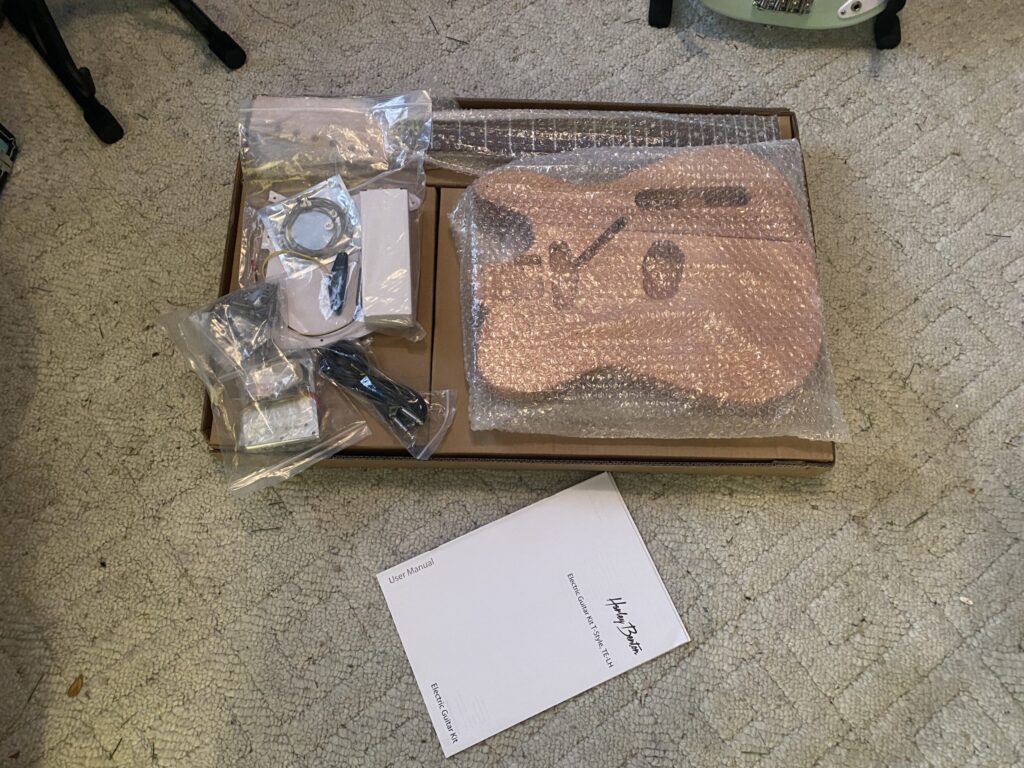
It’s a little like building a computer. Once you have all the parts, there really is one best way to put it together. This guitar is like that. I think the painting and finishing will be the hardest part. I say that now until I put it all together and It sounds like crap, lol!
Paint is ordered from Oxford Supply, Transparent Butterscotch Blonde1. I also ordered a can of the Neck Amber so I can give that a try. (So far, no tariff. But, you just know it’s coming, right?) I am thinking about painting the head stock the body color..
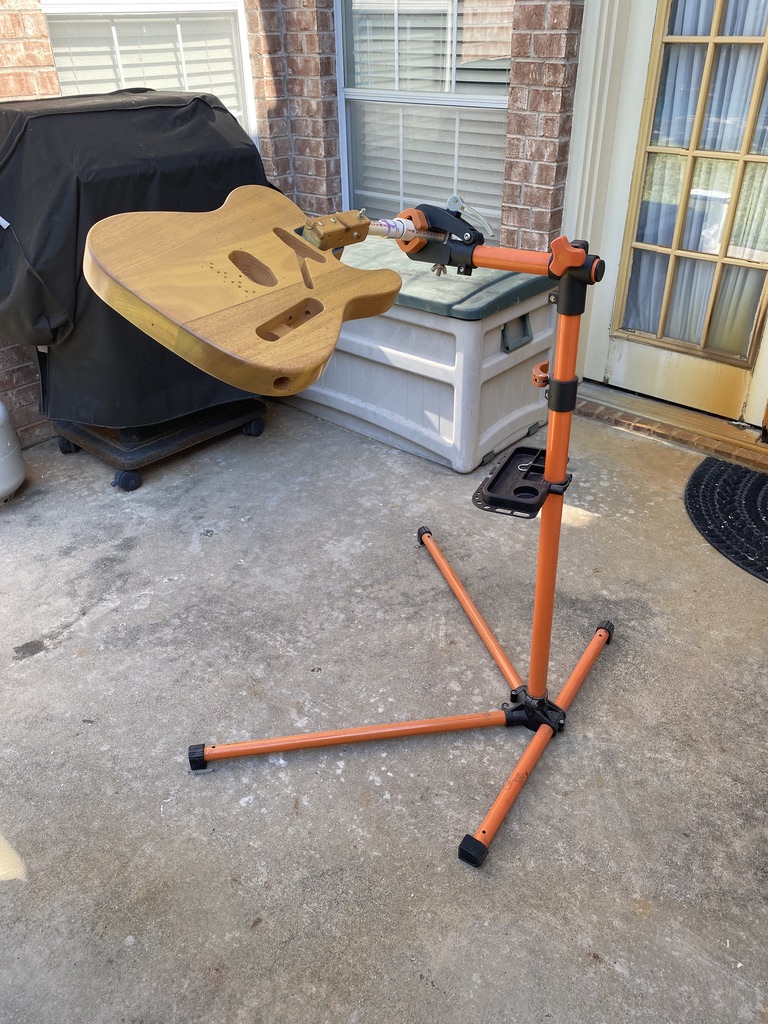
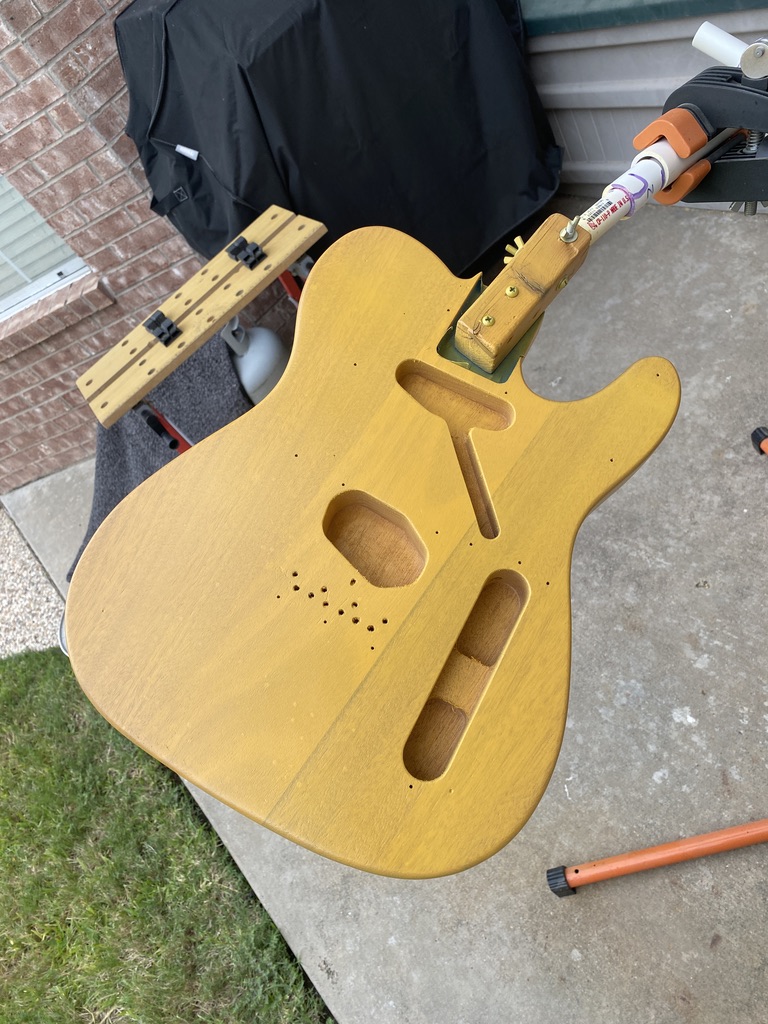
Painting the body is much easier using the bike lift to hold the part being painted.
The color is coming along. This is after the second coat.
Waited over 6 weeks to let the lacquer fully dry. Now ready to begin installing parts.
I like to do something special with each guitar I’ve built. Replace a SC Pickup with a Humbucker. I’ve already built a Tele, so what do I do here? Make it an “Esquire”, actually fits better with my tribute to Leo Fender and his production line electric guitar. The Esquire was first.. Easy enough to do, just leave out the neck pickup, find a scratch plate without a hole for the pickup, and what to do about that pickup selector switch in the control plate? Turns out there are wiring diagrams that can work for this. Essentially, in the Bridge position, it’s just the volume control, no tone control. Middle position brings in the Tone control with a 0.047uF cap. Position 3, removes the tone control again, but in it’s place hardwires in a 0.047uF cap. So it’s like have the tone turned all the way down. Probably not so useful..
As is usually the case with the low-cost kits, they are not always cut to spec to the point you can use off the shelf components without some modifications. Sometimes, the kit isn’t even consistent with itself and the parts they supplied don’t even fit. But, that’s OK as it gives me a chance to “Make it work”… It’s all about the learning.
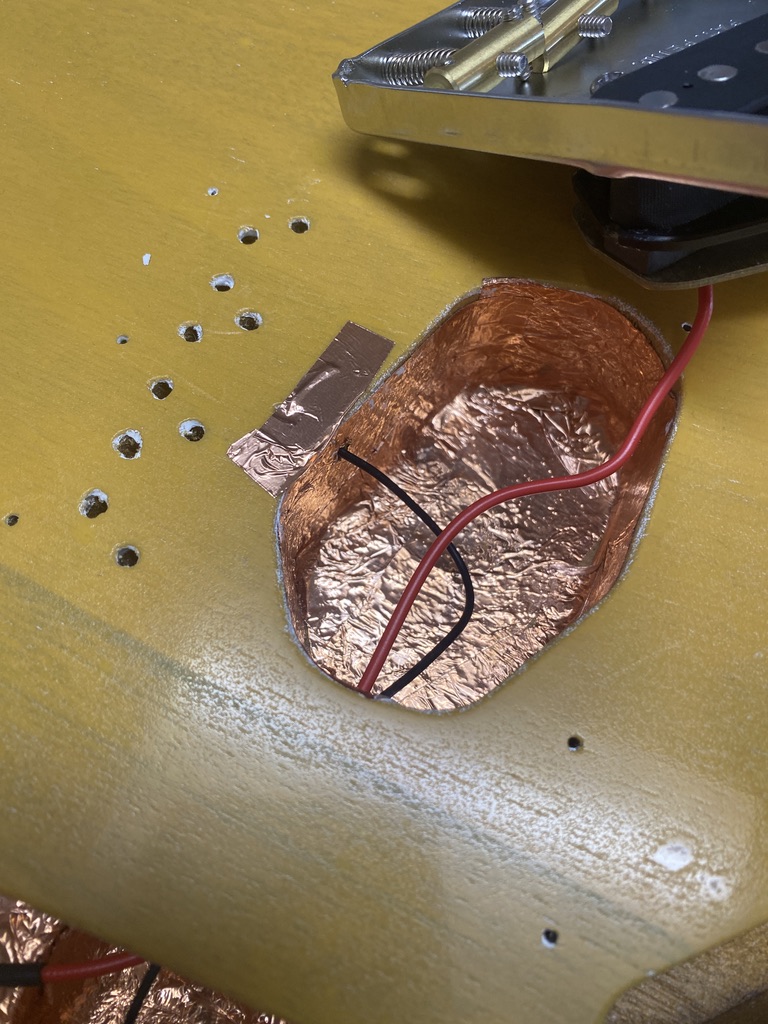
Notice no copper tape in the neck pickup cavity.. Don’t need it.. not installing a neck pickup!
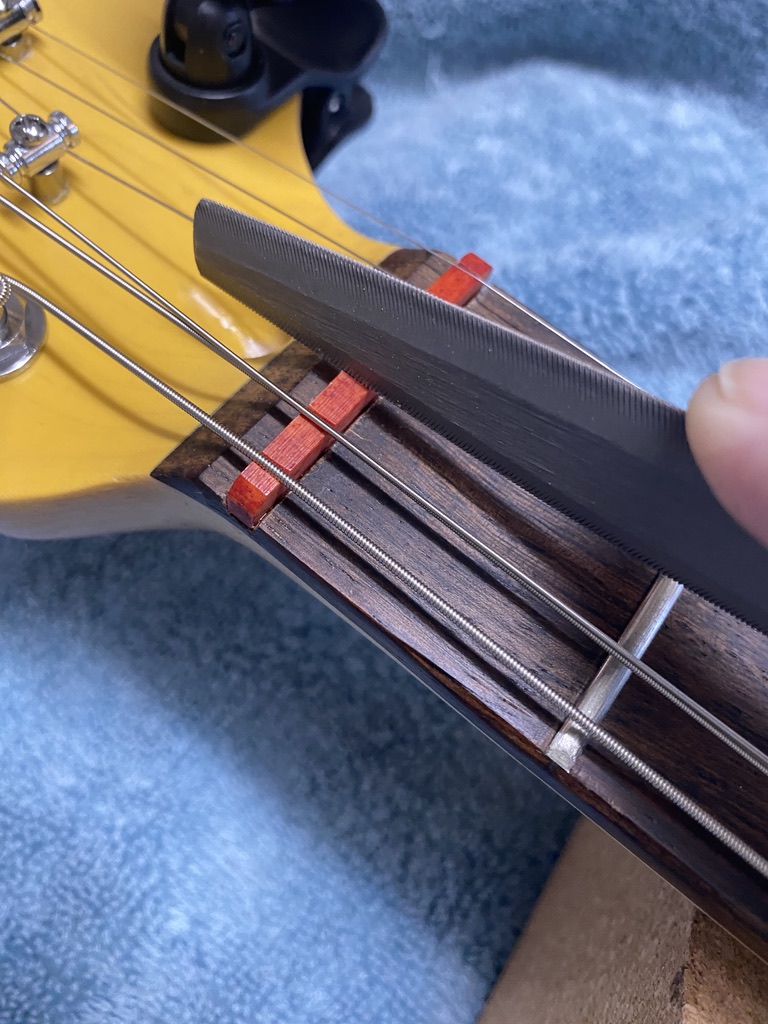
Even after everything is assembled, the guitar more than likely won’t be playable. And, it shouldn’t be.. we haven’t cut the nut, adjusted the truss or the string action. It’s will play awfully, but as you begin the setup process, it gets better, and each time you cycle through the adjustments, you dial in what you are looking for and it gets better.
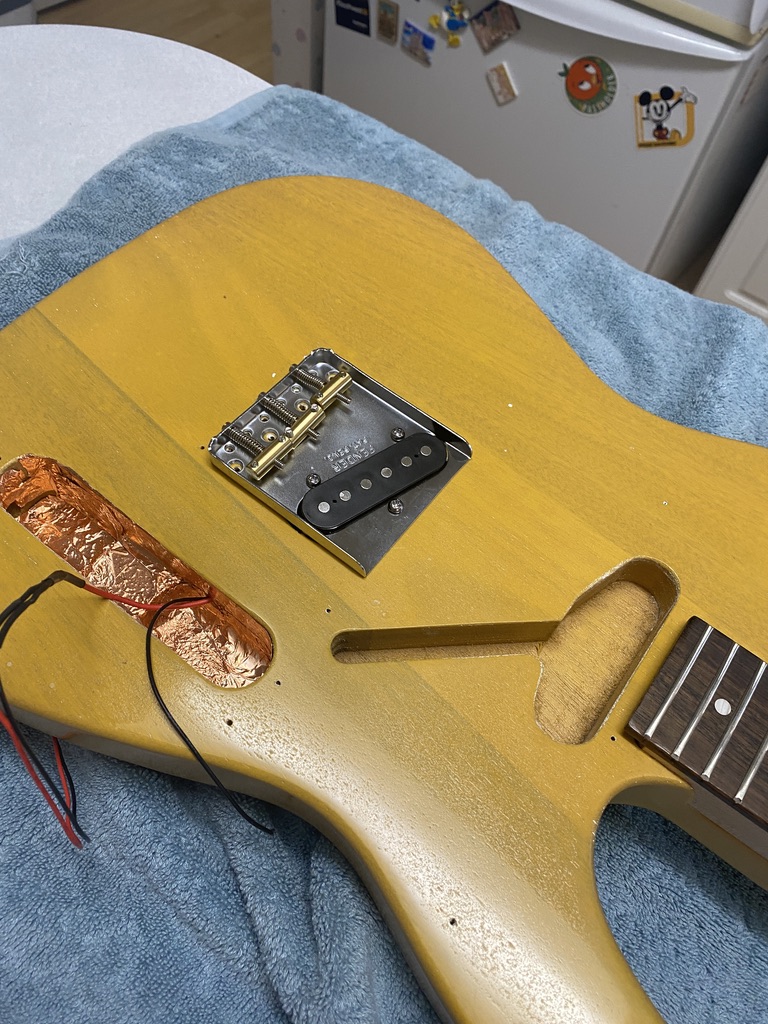
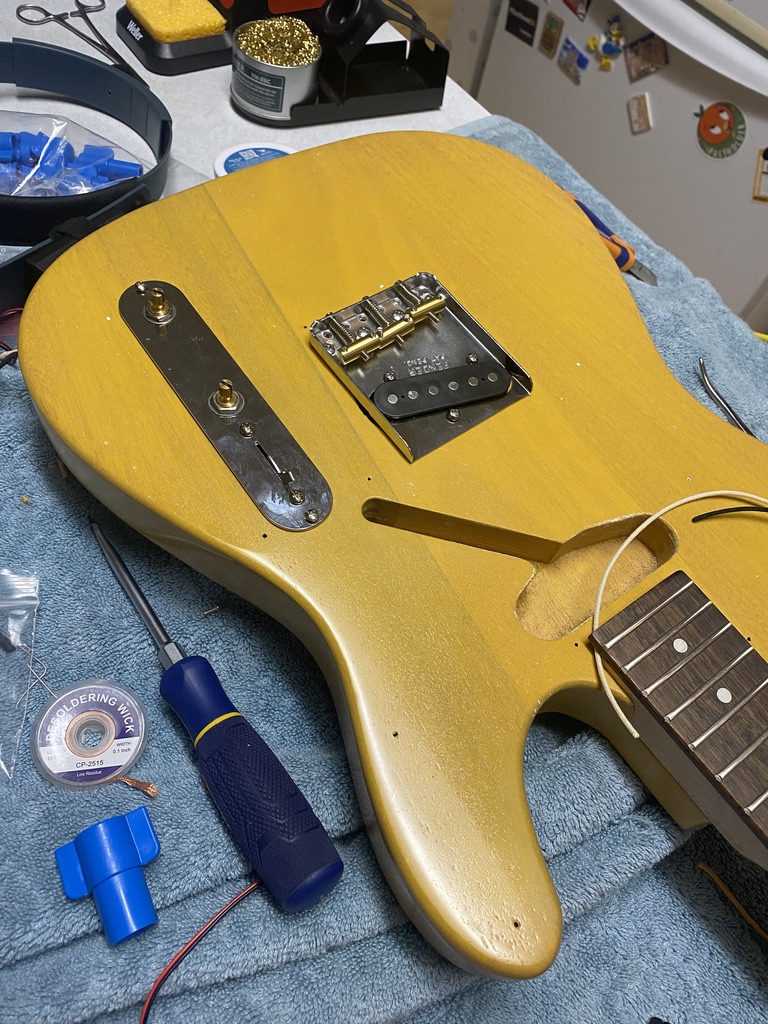
I installed all of the parts. The only part of the Harley Benton Kit that survived to the final version is the wood; the neck and the body. Everything else is after-market.
I think it turned out pretty well